
It appears that your cart is currently empty
A: LED display may flicker due to inconsistent flow of electricity via adapters. Check your adapter connection on the back of the unit and the power outlets on the wall.
It appears that your cart is currently empty
Features
Specification
FAQ
Evaluation
Download

C-Warmer Dual is an upgraded design of our C-Warmer series. With two heat sinks that can be set at different temperatures, the C-Warmer Dual reduces procedure times and improves overall efficiency. The C-Warmers are designed to enhance both the doctors' and patients' comforts. A thermostatically-controlled cartridge/composite warmer significantly reduces curing time with more flowability of composites and conveniently warms anesthetics and composites in one location. It also improves patient's comfort by delivering the restorations at body temperature with "less injection pain." Its user-friendly operation, compact size, and function will provide a significant impact on the everyday clinical routine.
Recommended Temperature Setting
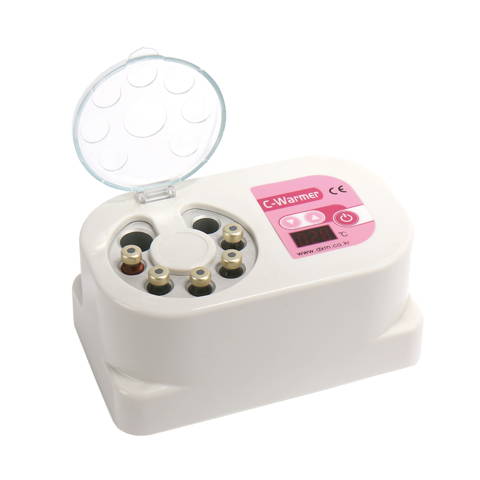
C-Warmer
Pink
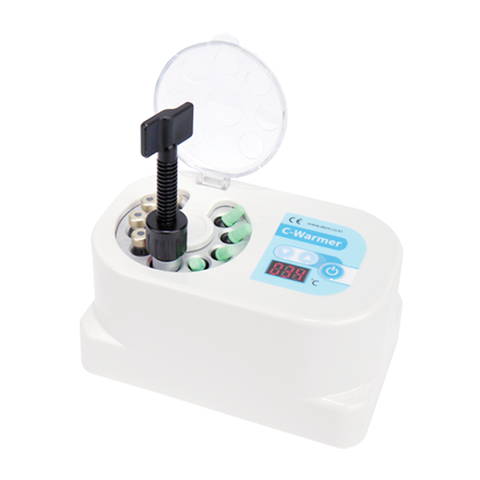
C-Warmer Blue
Type 1
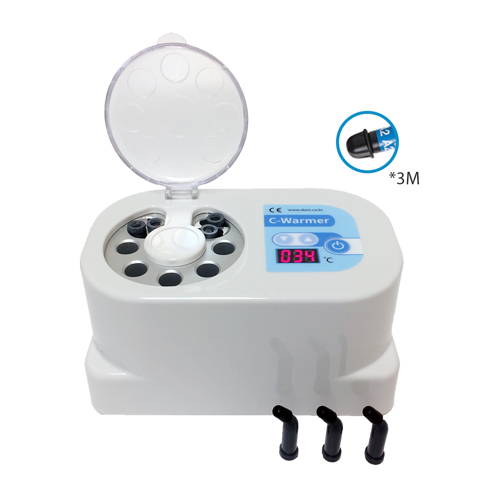
C-Warmer Blue
Type 2
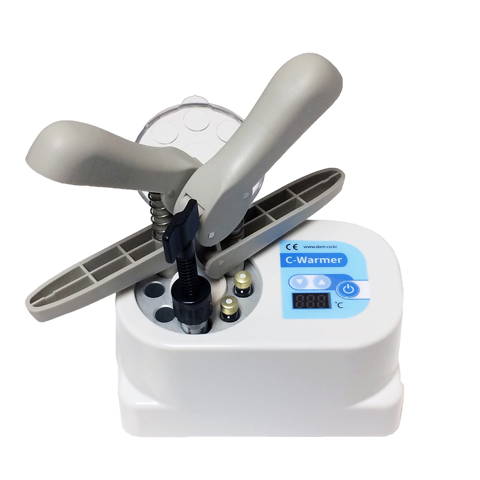
C-Warmer Blue
with Holders
Item #
AW-1800
AW-1901
AW-1902
AW-1900
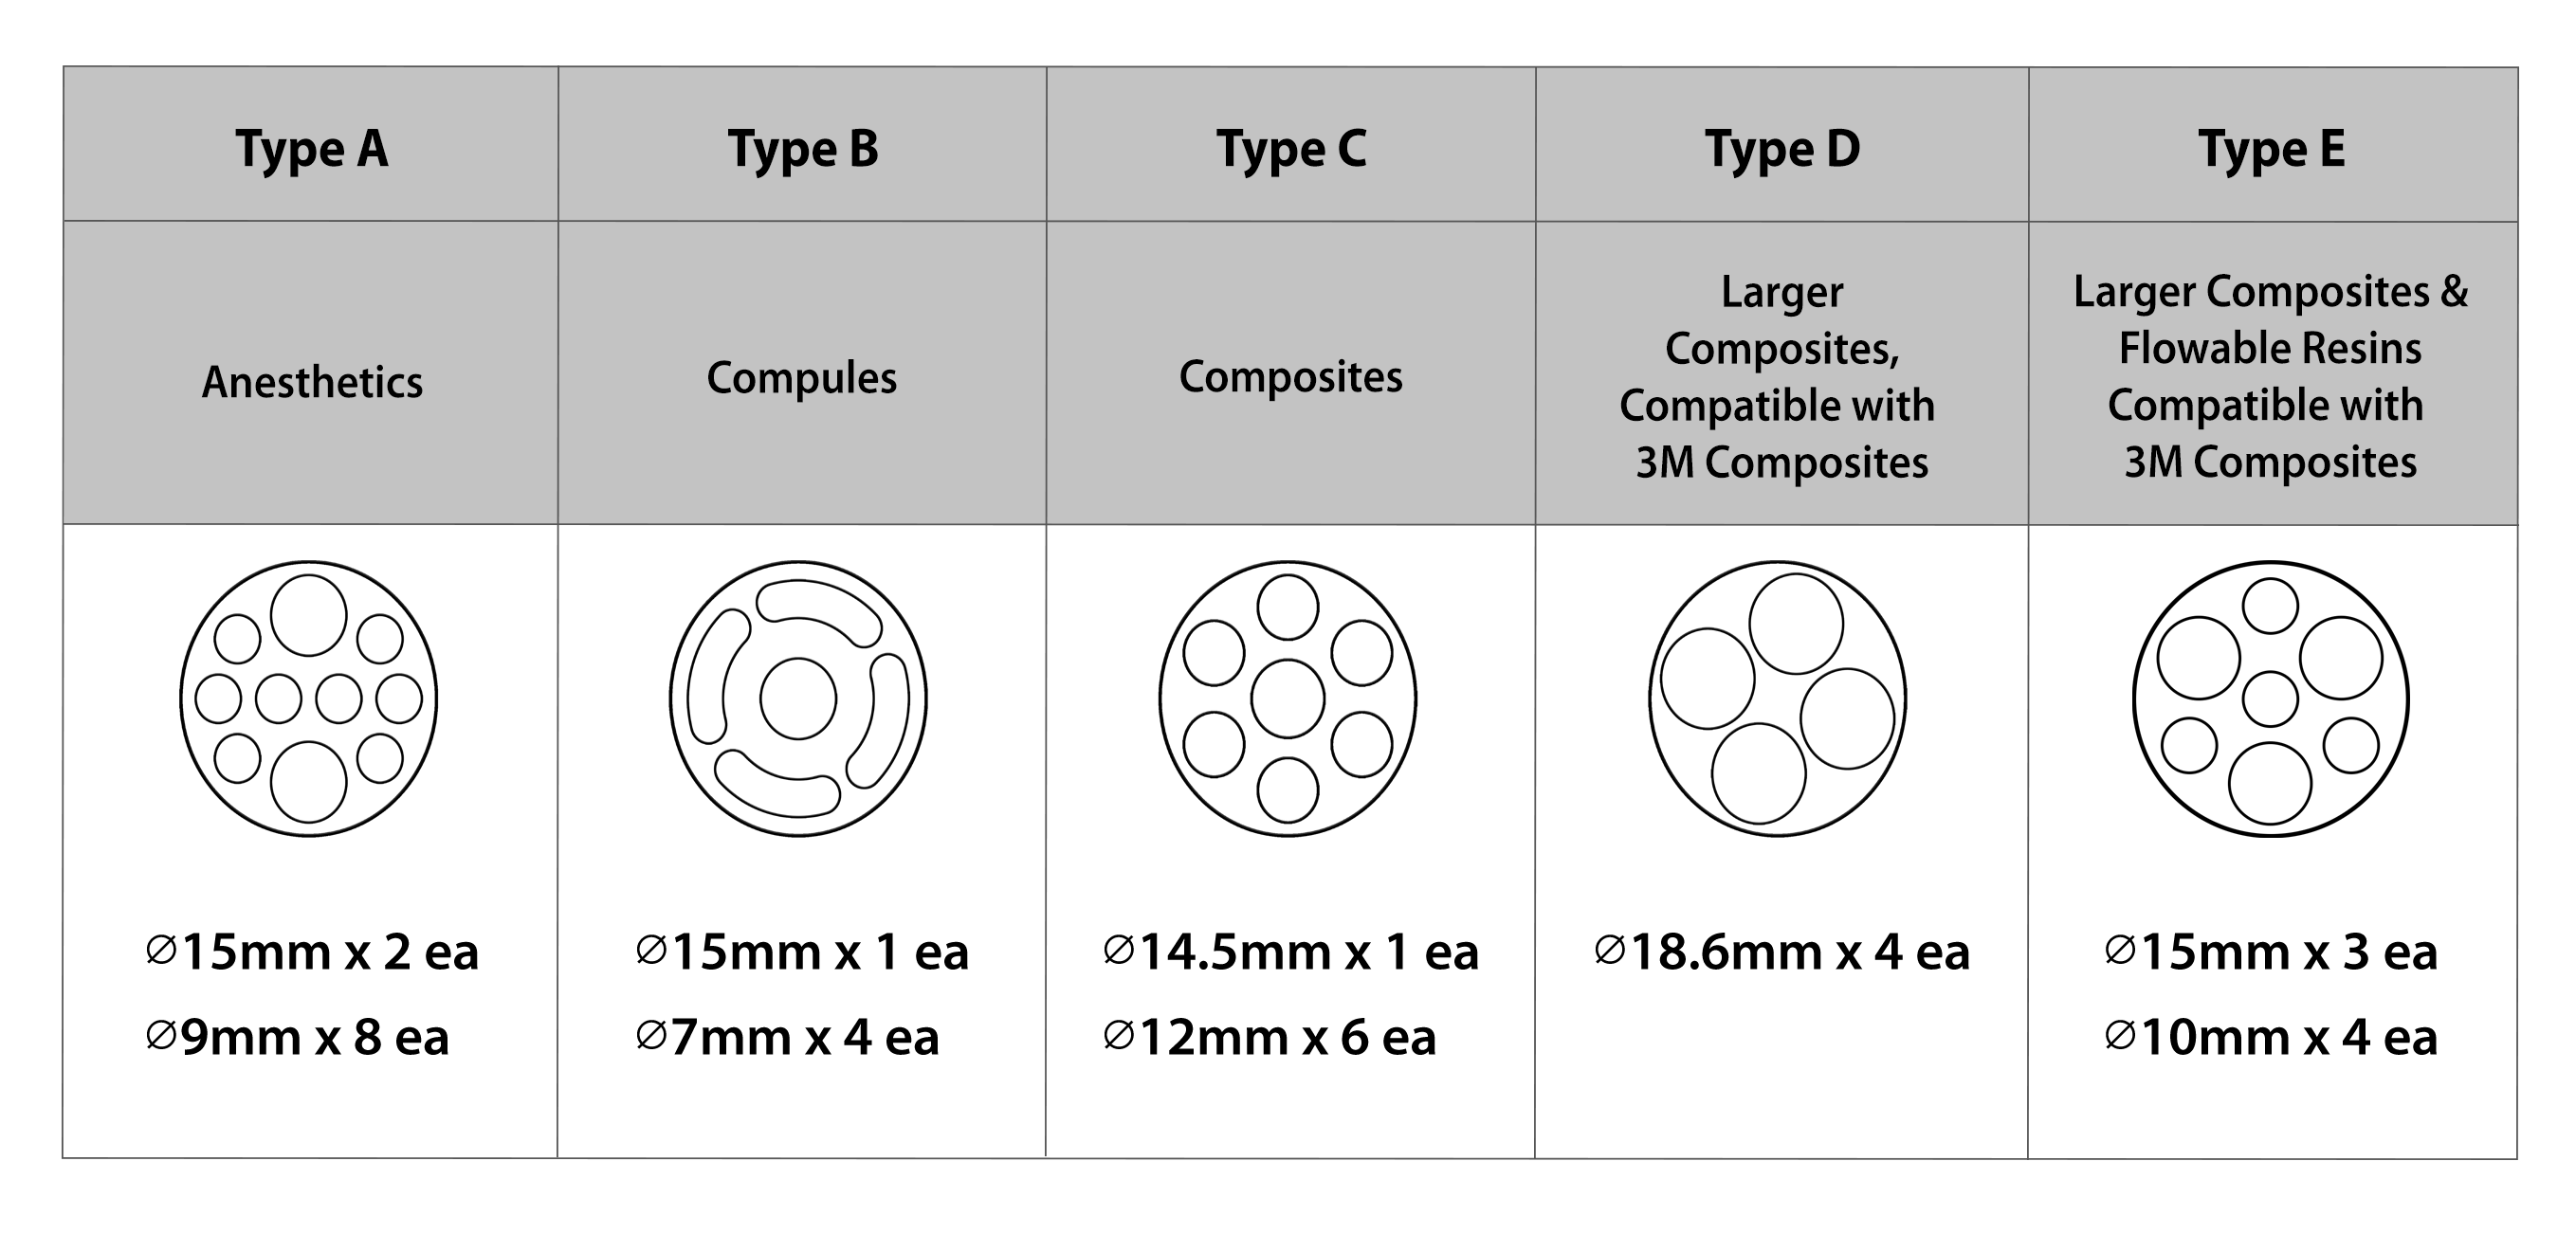
Slot Image
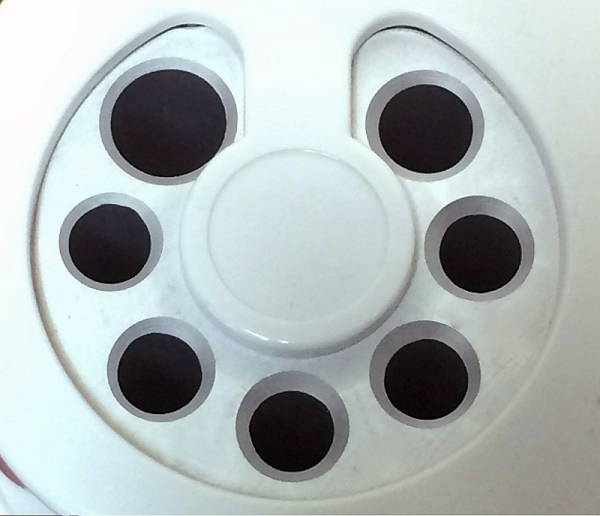
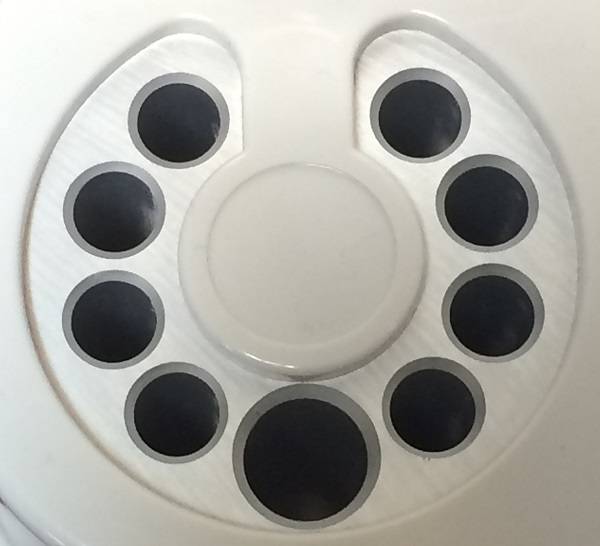
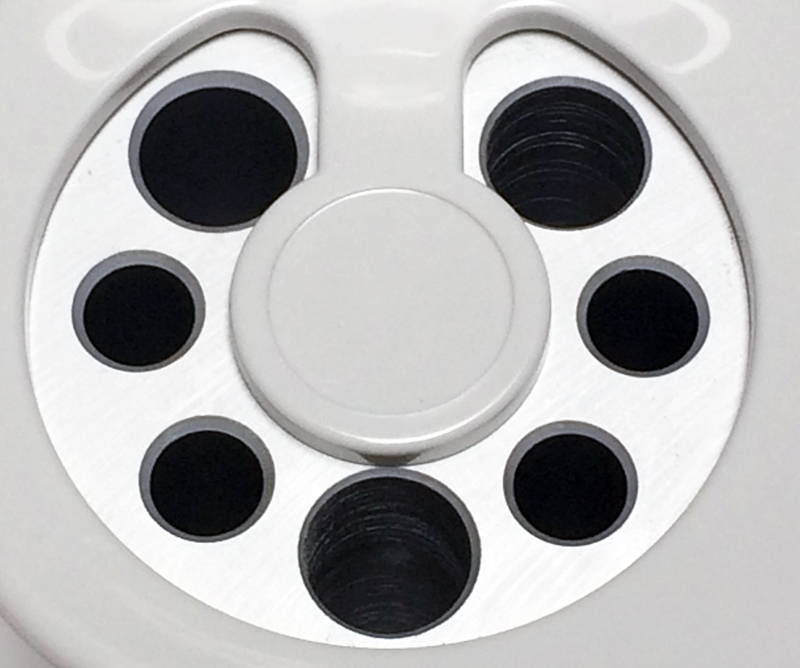
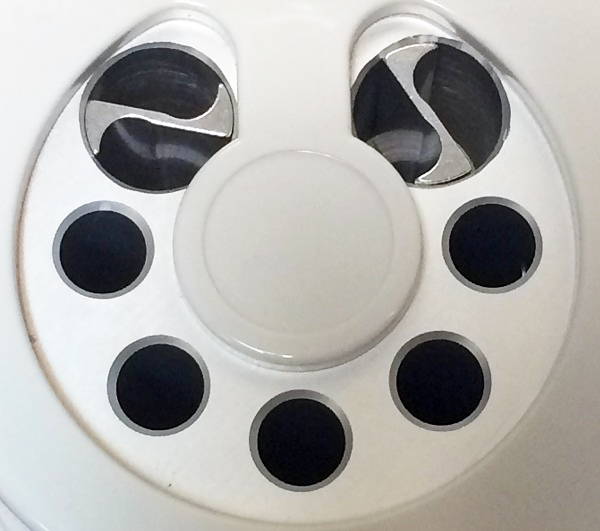
Slot Information
Dimensions
6.13 x 3.38 x 2.50 in
Slot Diameter
Extra Large Slot: 1.8cm
Large Slot: 1.5cm
Medium Slot: 1.2cm
Small Slot: 0.9cm
Long Slot: 0.7cm
Voltage
110V~240V
Adapter
6V DC / 2.5A
Components
1 x Warmer Body
1 x USB C Adapter / Power Cord
1 x Manual
FAQS
C-Warmer LED display is flickering
A: LED display may flicker due to inconsistent flow of electricity via adapters. Check your adapter connection on the back of the unit and the power outlets on the wall.
ERROR-BT
A: If any button is pressed during initialization, make sure the buttons are not being held down. If the problem persists, please contact our customer service department for further assistance.
ERROR-LS/RS
A: Left Sensor / Right Sensor malfunction. If the problem persists, please contact our customer service department for further assistance.
Overheat
A: Device is heated to over 73°C (163°F) and forced off until the temperature drops to set temperature. If the problem persists, please contact our customer service department for further assistance.
Cleaning Instructions
1. The device should be cleaned with a soft cloth with alcohol or ethyl alcohol and then with a dry cloth.
2. Do not use solvent like thinner/benzene, which may damage the housing.
3. Do not use ultrasonic sterilization, self-sterilization in home, dry sterilization, cresol, and infrared light. These methods can cause damage to the device.